

Crafting Red White and Blue Star cookies brings a festive crunch to any gathering. Bright star-shaped sugar cookies swirl with vibrant red, white, and blue icing for a buttery sweetness that’s as eye-catching as it is delicious. Chilled dough rolls into crisp-edged stars, bakes golden, then cools before a glossy coat of patriotic colors. Whether you’re celebrating Independence Day or just craving a colorful treat, these stars are sure to shine on your dessert table—let’s dive in!
Key Ingredients
Here’s what you’ll need to bake and decorate these festive stars:
- 2.5 cups all-purpose flour: Provides the sturdy base for crisp-edged cookies.
- 1 teaspoon baking powder: Gives a gentle lift without spreading the shape.
- 1/2 teaspoon salt: Balances sweetness and enhances flavor.
- 1 cup granulated sugar: Sweetens and helps achieve that tender crumb.
- 1 cup unsalted butter, softened: Adds rich, buttery flavor and moist texture.
- 1 large egg: Binds the dough and helps cookies hold their shape.
- 1 teaspoon vanilla extract: Infuses warm, classic vanilla notes.
- 2 cups powdered sugar: Forms the base of smooth, glossy icing.
- 3 tablespoons milk: Thins the icing to the perfect consistency.
- Red and blue food coloring: Transforms plain icing into patriotic hues.
How To Make Red White and Blue Star
Baking these star cookies involves simple mixing, chilling, rolling, and decorating steps that deliver crisp, perfectly shaped treats. You’ll start by combining dry ingredients, cream butter with sugar for a fluffy base, then blend everything into a smooth dough. Chilling is key for sharp edges, followed by gentle rolling and precise cutting with a star-shaped cutter. Once baked and cooled, you’ll whip up a tri-colored icing and get creative piping those signature red, white, and blue star patterns. Ready to roll? Let’s break it down step by step:
1. Preheat the oven to 350°F and line a baking sheet with parchment paper to prevent sticking.
2. In a bowl whisk together the flour, baking powder, and salt until evenly distributed.
3. In a separate bowl cream the butter and granulated sugar on medium speed until light and fluffy, about 2–3 minutes.
4. Beat in the egg and vanilla extract until fully incorporated and the mixture is smooth.
5. Gradually add the dry ingredients to the wet ingredients, mixing until a cohesive dough forms without streaks.
6. Chill the dough in the refrigerator for 30 minutes to firm it up for crisp cookie edges.
7. Roll out the dough on a lightly floured surface to about 1/4-inch thickness for even baking.
8. Use a star-shaped cookie cutter to cut out cookies and arrange them with space on the prepared sheet.
9. Bake for 8 to 10 minutes or until edges are lightly golden, then let cookies cool completely on a wire rack.
10. In a bowl combine powdered sugar and milk, stirring until the icing is smooth and lump-free.
11. Divide the icing into three bowls: leave one plain, tint one with red food coloring, and one with blue.
12. Use a piping bag or spoon to decorate each cookie with alternating red, white, and blue icing in star patterns.
13. Allow the icing to set fully before handling or serving for a clean finish.
Serving Suggestions
These star cookies are crowd-pleasers on any dessert spread. Serve them straight on a festive platter or pair them with complementary treats to enhance the patriotic theme. Here are some fun ways to present and enjoy your Red White and Blue Stars:
- Color-themed platter: Arrange cookies on a white plate with red raspberries and fresh blueberries for an eye-catching display.
- Ice cream sandwich: Place a scoop of vanilla ice cream between two stars for a cool, creamy twist.
- Ginger ale pairing: Serve alongside chilled ginger ale or lemonade to balance the sweetness with a fizzy tang.
- Cookie tower: Stack cookies on a tiered stand, using parchment sheets between layers to protect the colorful icing.
Tips For Perfect Red White and Blue Star
Mastering these cookies is all about precision and patience. From chilling to coloring, each tip helps ensure your stars come out flawless, with vivid hues and crisp shapes. Follow these friendly pointers to make baking and decorating a breeze:
- Chill the dough well to maintain sharp star edges when baking.
- Use gel food coloring for more vibrant red and blue hues without thinning the icing.
- Store cookies in an airtight container at room temperature for up to 3 days to keep them fresh.
- Let icing dry completely to prevent smudging when stacking cookies or packing them for gifting.
How To Store It
Keeping your Red White and Blue Star cookies fresh and beautiful is simple with the right storage methods. Whether you’re prepping ahead or saving leftovers, follow these guidelines to lock in flavor and maintain that glossy finish:
- Airtight container (room temperature): Store baked and decorated cookies in a single layer or between parchment sheets for up to 3 days.
- Refrigerator: Place undecorated dough or partially iced cookies in a sealed container for short-term firming—ideal before a final decorating session.
- Freezing dough: Flash-freeze unbaked, cut-out stars on a baking sheet until solid, then transfer to a freezer bag for up to 1 month; bake from frozen, adding a minute or two to bake time.
- Freezing baked cookies: Freeze fully cooled, undecorated cookies in an airtight container for up to 1 month; thaw at room temperature before icing.
Frequently Asked Questions
I’ve gathered some quick answers to common questions so your cookie-making goes smoothly:
- How long does it take to prepare and bake the Red White and Blue Star cookies?
From start to finish, plan on about 30 minutes to measure and mix the dough, 30 minutes to chill it, 10 minutes to roll, cut, and bake each batch, 15–20 minutes to cool the cookies completely, and another 20–30 minutes for the icing to set. Altogether you’ll need roughly 1 hour and 45 minutes before the cookies are ready to serve.
- Why is it important to chill the dough, and can I skip this step?
Chilling the dough for at least 30 minutes firms it up, which helps the star shapes hold sharp edges while baking. If you skip chilling, the dough will spread more in the oven, resulting in puffy or misshapen stars. If you’re short on time, a quick 15-minute chill in the freezer can help, but for the best shape retention stick to 30 minutes in the refrigerator.
- What should I do if my dough is too sticky to roll out?
If the dough clings to your rolling pin or work surface, dust both lightly with flour. Work quickly so that the dough doesn’t warm up; if it becomes too soft, return it to the refrigerator for 10–15 minutes. Always keep your hands and tools lightly floured to prevent sticking without adding excess flour, which can dry out the cookies.
- How can I achieve the perfect icing consistency for piping and spreading?
For firm piping outlines, use a thicker icing by adding extra powdered sugar one tablespoon at a time until the mixture holds its shape. For flooding (filling areas), thin the icing with a few drops of milk until it moves slowly off a spoon but still covers the surface without running off the edge. Work quickly and cover icing bowls with plastic wrap to prevent crusting between batches.
- What tips ensure vibrant red and blue icing colors?
Use gel food coloring rather than liquid, as gels provide more intense hues without altering the icing’s consistency. Add gel color drop by drop, mixing thoroughly after each addition until you reach the desired shade. Let tinted icing rest for a few minutes to let the color deepen before decorating.
- Can I make the dough or cookies in advance, and how should I store them?
You can prepare the dough up to 24 hours ahead—wrap it tightly in plastic wrap and keep it chilled. After baking and cooling, store undecorated cookies in an airtight container at room temperature for up to 3 days. Decorated cookies should sit until the icing fully hardens, then layer them between sheets of parchment paper in an airtight container for up to 3 days.
- Is it possible to freeze the dough or baked cookies?
Yes. Freeze the unbaked, cut-out dough stars on a baking sheet until solid, then transfer to a freezer bag for up to 1 month; bake directly from frozen, adding an extra minute or two to the baking time. You can also freeze fully cooled, undecorated cookies in an airtight container for up to 1 month; thaw at room temperature before icing.
What Makes This Special
These Red White and Blue Star cookies combine simplicity and a pop of festive flair—perfect for celebrating any patriotic occasion or just brightening your day. The crisp-edged dough and buttery sweetness pair beautifully with the glossy, tri-colored icing that stays sharp and smudge-free. Grab your star cutter, roll that chilled dough, and get ready to decorate; you’ll want to print this article and save it for your next bake-fest! Feel free to drop a comment or question below if you give them a try or need a hand—happy baking!
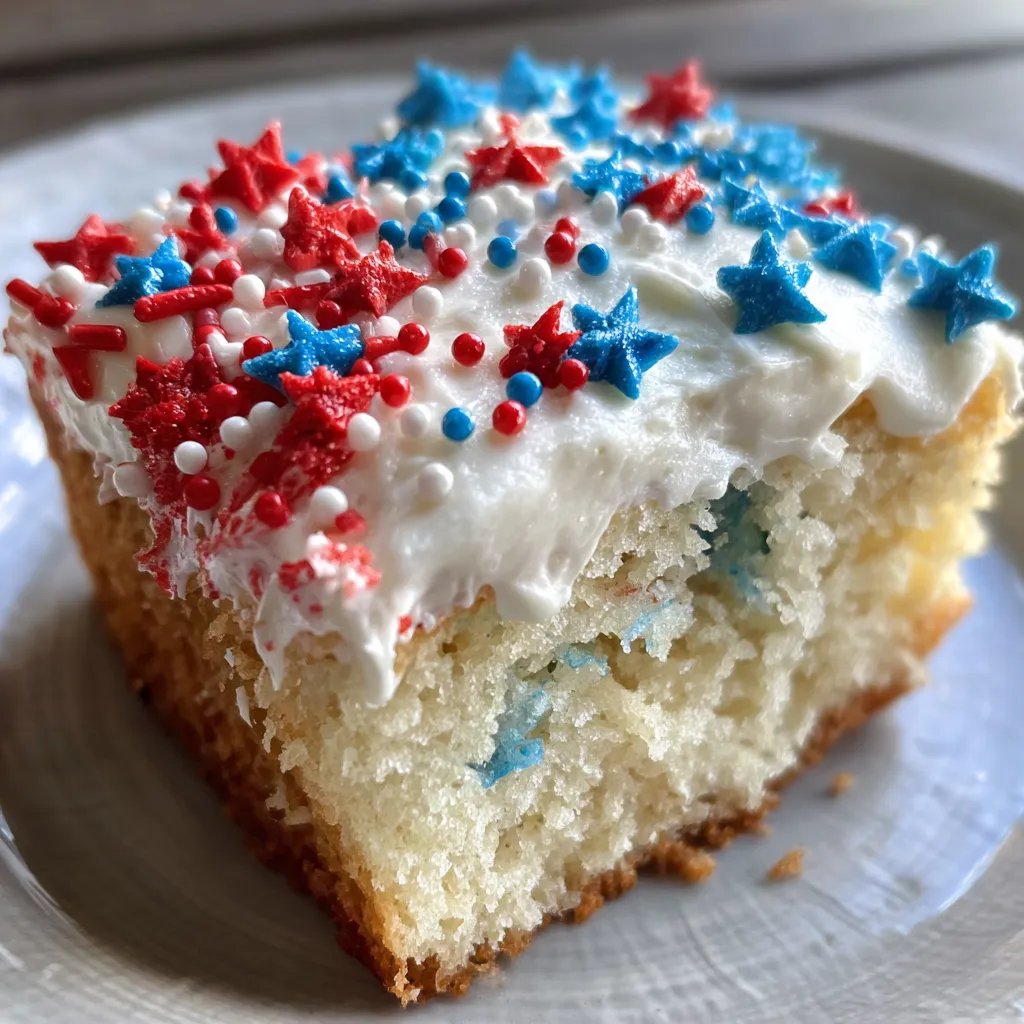

Red White and Blue Star
Description
Chilled dough rolls into crisp-edged stars, baked golden and cooled before a glossy coat of red, white, and blue icing. Perfect for patriotic gatherings, each bite combines buttery sweetness with colorful crunch.
Ingredients
Instructions
-
Preheat the oven to 350°F and line a baking sheet with parchment paper.
-
In a bowl whisk together the flour, baking powder, and salt.
-
In a separate bowl cream the butter and granulated sugar until light and fluffy.
-
Beat in the egg and vanilla extract until well combined.
-
Gradually add the dry ingredients to the wet ingredients and mix until a dough forms.
-
Chill the dough in the refrigerator for 30 minutes.
-
Roll out the chilled dough on a lightly floured surface to about 1/4 inch thickness.
-
Use a star-shaped cookie cutter to cut out cookies and place them on the prepared baking sheet.
-
Bake for 8 to 10 minutes or until the edges are lightly golden. Let cookies cool completely.
-
In a bowl combine powdered sugar and milk to make a smooth white icing.
-
Divide the icing into three portions; leave one plain, tint one with red food coloring, and tint one with blue food coloring.
-
Use a piping bag or spoon to decorate each cookie with red, white, and blue icing in star patterns.
-
Allow the icing to set fully before serving.
Note
- Chill the dough well to maintain sharp star edges when baking.
- Use gel food coloring for more vibrant red and blue hues.
- Store cookies in an airtight container at room temperature for up to 3 days.
- Let icing dry completely to prevent smudging when stacking cookies.

