

Homemade Sweet and Tangy Strawberry Jam brings the vibrant flavors of sun-kissed strawberries together with a zesty lemon twist. Fresh berries simmer down into a glossy, ruby-red preserve that balances bright citrus notes with natural sweetness. This Beginner-friendly recipe captures a taste of summer in every spoonful and promises easy crowd-pleasing results—perfect for breakfast toast, yogurt swirls, or heartfelt homemade gifts.
Key Ingredients
To whip up this jam, you only need five simple ingredients that work together to create that perfect sweet-tangy balance and beautiful set.
- 4 cups fresh strawberries hulled and chopped: The juicy fruit base that gives your jam vibrant color and natural sweetness.
- 2 cups granulated sugar: Sweetener and preservative that helps the jam gel and stay shelf-stable.
- 1 package (1.75 ounces) powdered pectin: Natural thickener that ensures a firm jam texture.
- 2 tablespoons fresh lemon juice: Brightens flavor, adds acidity for a better gel, and balances sweetness.
- 1/4 teaspoon butter: Reduces surface foam during boiling, giving a clearer, more attractive jam.
How To Make Homemade Sweet and Tangy Strawberry Jam
Turning fresh strawberries into a set, glossy jam is all about timing and gentle attention. From sterilizing your jars to achieving a full rolling boil, each step ensures safe preservation and vibrant flavor. Keep your spoon moving to prevent scorching, watch for that perfect gel point, then seal in the freshness of summer.
1. Sterilize jars and lids by boiling them in water for 10 minutes, then keep warm. This ensures a clean environment for proper sealing.
2. In a large heavy-bottomed saucepan, combine strawberries, pectin, lemon juice, and butter. Stir gently to coat fruit evenly.
3. Bring mixture to a full rolling boil over medium-high heat, stirring constantly so nothing sticks or burns.
4. Add sugar all at once and return to a full rolling boil; boil for 1 minute, stirring continuously to fully dissolve sugar and activate pectin.
5. Remove pan from heat and skim off any foam with a spoon for a clear, attractive jam.
6. Carefully ladle hot jam into prepared jars, leaving 1/4-inch headspace, then seal with lids while still hot.
7. Let jars cool at room temperature for 12–24 hours before labeling and storing, allowing proper vacuum sealing.
Serving Suggestions
This strawberry jam is incredibly versatile—here are a few delightful ways to showcase its sweet-tangy magic on your table.
- Spread on buttery toast for a classic, comforting breakfast with a fruity punch.
- Swirl into Greek yogurt and top with granola for a quick, colorful parfait.
- Layer between shortcake biscuits or sponge cake for an elegant dessert.
- Gift in decorative jars tied with a ribbon, making a thoughtful homemade present.
Tips For Perfect Homemade Sweet and Tangy Strawberry Jam
Making jam at home is part science, part art. With these friendly pointers, you’ll nail that gorgeous color, perfect texture, and clear finish every time.
- Use fresh, ripe strawberries for optimal flavor and natural sweetness
- Stir jam constantly during boiling to prevent scorching and ensure even cooking
- Skim off foam immediately after cooking for a clearer, more attractive jam
- Refrigerate opened jam and use within 3 weeks or freeze jars for up to 1 year
How To Store It
Once your jars are sealed, proper storage keeps that sun-kissed flavor locked in. Whether you tuck them on a shelf or freeze them, follow these methods for peak freshness.
- Pantry (Unopened): Store jars in a cool, dark place for up to one year; check seals before use.
- Refrigerator (Opened): Keep jars tightly sealed and refrigerated; use within 3 weeks for best quality.
- Freezing: Transfer jam to freezer-safe containers, leaving about 1/2-inch headspace for expansion; freeze up to one year.
Frequently Asked Questions
Got questions about making or storing your jam? Here are some quick answers:
- How long does it take to prepare and cook this strawberry jam?
From start to finish, active prep and cooking take about 20–25 minutes, plus 12–24 hours of cooling time.
- What yield can I expect from this recipe?
You’ll fill roughly five half-pint jars—about 2½ pints of finished jam—depending on foam skimming and packing.
- Can I reduce the sugar or use a sugar substitute?
Standard pectin needs 2 cups of sugar to set and preserve safely; for low-sugar versions, use pectin labeled for low-sugar recipes and follow its instructions.
- Why is there butter in the ingredient list?
Butter helps minimize surface foam during cooking, making it easier to skim for a clearer jam without affecting taste.
- How can I tell when the jam has reached its gel stage?
Maintain a full rolling boil for 1 minute after adding sugar, or test on a chilled plate—if it wrinkles when pushed, it’s ready.
- Do I really need to sterilize jars, and how should I store the jam?
Yes, boiling jars for 10 minutes eliminates bacteria and ensures proper sealing. Store unopened in a cool, dark pantry; refrigerate after opening.
- Can I freeze the jam instead of using the canning method?
Absolutely. Use freezer-safe containers with 1/2-inch headspace and freeze up to one year; thaw in the fridge overnight.
What Makes This Special
This Homemade Sweet and Tangy Strawberry Jam works because it’s simple, overflows with sunny fruit flavor, and delivers that perfect jammy set every time. The secret? Fresh ripe berries, zesty lemon juice, and just the right amount of pectin and sugar. It’s beginner-friendly, fun to make, and versatile enough for breakfast, dessert, or gifting. Feel free to print and save this recipe for your jam-making adventures—then come back and share your questions, tweaks, or joyful success stories!
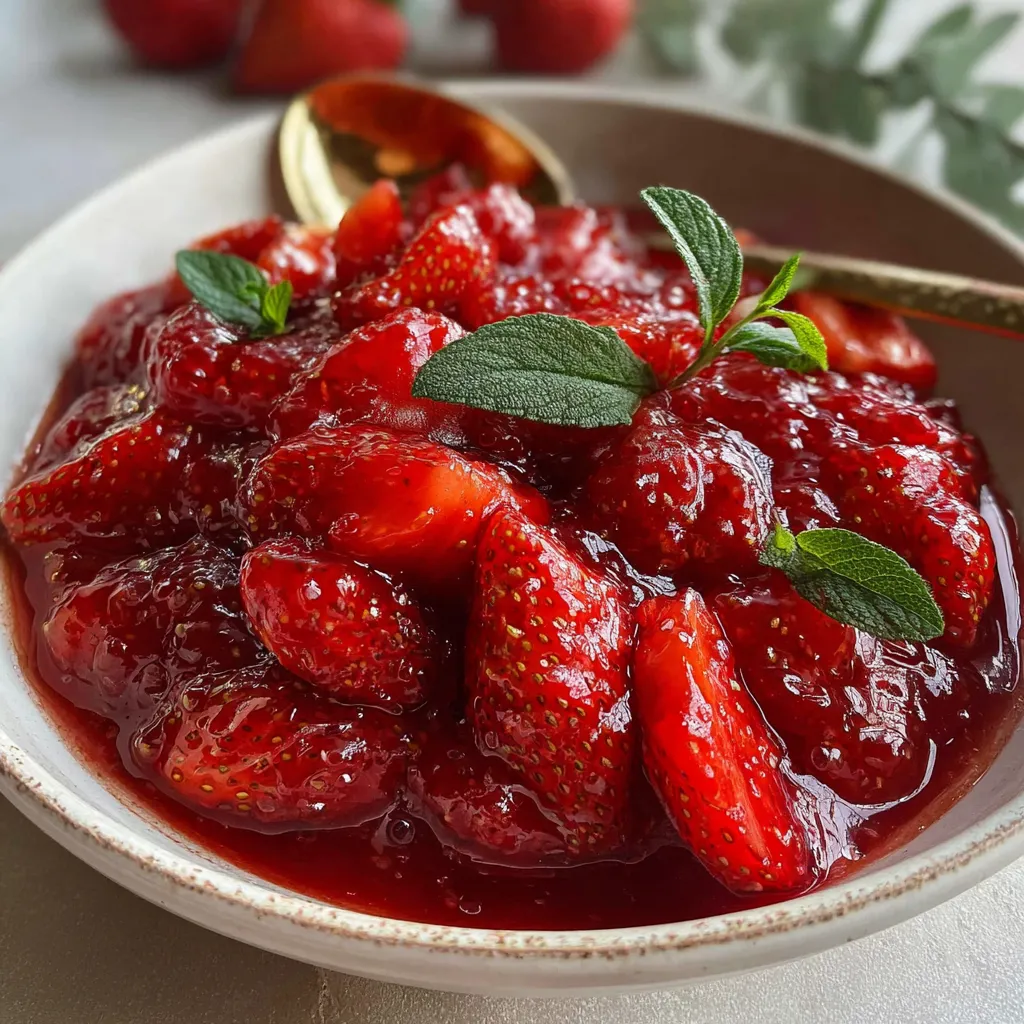

Homemade Sweet and Tangy Strawberry Jam
Description
Fresh strawberries simmer into a glossy, ruby-red jam that tangles sweet fruit flavor with bright lemon zest. Stirring the bubbling mixture fills the kitchen with fragrant berry perfume, promising a spreadable taste of summer on your toast.
Ingredients
Instructions
-
Sterilize jars and lids by boiling them in water for 10 minutes, then keep warm.
-
In a large heavy-bottomed saucepan, combine strawberries, pectin, lemon juice, and butter.
-
Bring mixture to a full rolling boil over medium-high heat, stirring constantly.
-
Add sugar all at once and return to a full rolling boil; boil for 1 minute, stirring continuously.
-
Remove pan from heat and skim off any foam with a spoon.
-
Carefully ladle hot jam into prepared jars, leaving 1/4-inch headspace, then seal with lids.
-
Let jars cool at room temperature for 12–24 hours before labeling and storing.
Note
- Use fresh, ripe strawberries for optimal flavor and natural sweetness
- Stir jam constantly during boiling to prevent scorching and ensure even cooking
- Skim off foam immediately after cooking for a clearer, more attractive jam
- Refrigerate opened jam and use within 3 weeks or freeze jars for up to 1 year

